Micro-frontends with Fronts.js
This article was originally published on the Logrocket blog. Check it out here.
Introduction
The way we develop applications has changed a lot during modern times. With the amount of new frameworks that are coming up day-by-day, being flexible in terms of tech stack, for example building some parts of an app in React and other using Vue is highly probable. There are genuine use cases wherein we need to build several related web apps that are developed and deployed separately but work as a single web app. This is referred to as a micro-frontends approach to app development and there are several ways to implement it in production.
Other Solutions
single-spa
One solution for this problem is using single-spa which uses a single-spa root config file which holds information like the shared dependencies and then several individual single page applications packaged into modules that communicate with each other and single-spa via APIs.
module federation
Another, more famous solution would be to use Webpack's very own module federation support that was introduced as one of the core features in Webpack version 5. Module federation is a pretty solid solution to the problem as explained in this article. It solves the problem of code sharing among applications by allowing them to load code from one another but it is a tad bit verbose and lacks a level of configurability. And that is the problem Fronts is trying to solve by
providing a more complete and fully targeted micro frontends framework implementation
as stated on the official github page.
Fronts
There are several benefits of using Fronts as your framework of choice for building micro-frontends. Some of them being:
-
A support for nested micro-frontends. Which means a front-end built with one codebase placed inside another one built with a different codebase. It also means that a parent page could hold several different child pages that could all be potentially be built using different repositories.
-
A cross-framework support. Which does not restrict us from using any particular tech stack and allows a single page to be built using several technologies.
-
Code splitting and lazy loading. This allows different apps built using Fronts to import a different Fronts app as a module, hence allowing for code splitting and lazy loading.
-
Lifecyle. Fronts provides several lifecyle methods which allow us to "hook" into those and perform the required operations.
-
Generic API. The API exposed by Fronts is so generic that it is framework agnostic and we can utilize it as we please for any use case that we are trying to cater.
Progressive nature
Fronts is progressive in nature which means that there is an option to run a Fronts application in non-module federation mode as well as module federation mode. Hence, an application can start off in normal (non module-federated) mode and then progressively move into module-federated mode. Also, there is a version control mode which also allows version management of the different component applications in addition to module federation.
Looking into the code
As far as API is concerned, Fronts is pretty straight-forward. We'll dig a little into what it provides. There are 3 different loaders based on what the requirement is.
useApp()
This is used to import apps wherein we do not need isolation for CSS from the other applications but this too is optional (on an opt-in basis).
useWebComponents()
This API is used when we need isolation of CSS from other applications.
useIframe()
This is used when we need isolation of both CSS and JavaScript from rest of the applications.
Apart from the loaders, there are also other APIs:
createWebpackConfig()
This is a wrapper function that takes in the original webpack config and returns the updated webpack config that supports module federation. That way the users of the library do not need to do anything more apart from calling this function.
getMeta()
This API is used as a tool to get the full picture of the dependency map. Calling this returns a JSON of the entire structure of the monorepo along with all the component apps and their dependencies.
There are also APIs for communicating among the different component micro-frontends:
globalTransport.listen(event, function)
This helps to configure global event listeners by providing a string event and a listener that is to be triggered when that event is fired.
globalTransport.emit(event, value)
This is the function used to emit events that the previous function is listening to. It takes a string event name as the first argument and its value as the second argument.
Hands on
Now that we are aware of the theory aspect of it, let's work with an example using Fronts to understand what is happening in more depth.
We would be working on top of the official fronts-example repo to create our demo. One being the parent (container ecom site) and the other, the child (the products page). Here is the link of the completed example repo. It uses Chakra-UI for its UI components and has a hardcoded products.json file along with a dummy cart. But that's not the important part, as we are just trying to understand how a Fronts application works using this dummy ecommerce site as an example.

In order to run the application, clone the repository, then run
yarn install
and then
yarn start
and then visit localhost to play around with the applications.
Folder structure
The example repo shared above contains two full-fledged Fronts projects inside of the packages directory. Do note that it is not necessary to place the two inside of the same repo (Monorepo) and it would work exactly the same if they were placed in their own separate repositories. Here's how the folder structure of each of these individual apps roughly looks like:
|- public
    |- index.html
|- src
    |- App.jsx
    |- index.jsx
    |- styles.css
    |- bootstrap.tsx
|- .babelrc
|- webpack.config.js
|- site.json
Let us look at the Fronts specific files in some more detail to undertand them better.
bootstrap.tsx
This file as the name suggests, helps in bootstrapping the Fronts application when it is loaded in the browser.
export default function render(element: HTMLElement | null) {
  ReactDOM.render(<App />, element);
  return () => {
    ReactDOM.unmountComponentAtNode(element!);
  };
}

boot(render, document.getElementById('root'));
Notice how the app is rendered inside of a render function and that render function is supplied to the boot method that the Fronts library has provided to us. Inside of the function, the React app is rendered as we do in a normal React app. It also returns an arrow function that call the ReactDOM.unmount on the element when it is no longer required. But as a user of the Fronts library, all we need to do inside of the bootstrap.tsx file is to call the boot method and it will take care of the rest.
site.json
This is another important file which specifies a lot of configuration details for the app. Here's how it looks for app1, the container ecom app:
{
  "name": "app1",
  "dependencies": {
    "app2": "http://localhost:3002/remoteEntry.js"
  },
  "shared": {
    "react": { "singleton": true },
    "react-dom": { "singleton": true }
  }
}
Notice how app2 (the products app) is mentioned as one of the dependencies of app1 by passing the localhost deployment URL followed by remoteEntry.js as an entry point. This would be replaced by the production deployment URL when we deploy both these apps to production. Also notice the shared object which mentions all the dependencies that would be shared by these Fronts applications so that the bundles for those are not downloaded again on the browser. Just specifying an entry point and shared dependencies in this format makes it function in sync with other Fronts applications and the library takes care of the rest for us.
Looking at the same file in for app2, we see that it looks slightly different:
{
  "name": "app2",
  "exports": ["./src/bootstrap", "./src/Button"],
  "dependencies": {},
  "shared": {
    "react": { "singleton": true },
    "react-dom": { "singleton": true }
  }
}
We see an extra exports key. This is because the app2 exports certain functionality that can be used by other applications. In the example above, the src/bootstrap file is exported which means that the entire app can be imported in other Fronts applications (as imported by app1).
Routing between micro-frontends
If we take a look at the app1/src/App.tsx file, we can see how the routes are being shared by the two applications.
const routes = [
  {
    path: "/",
    component: () => <HomePage />,
    exact: true,
  },
  {
    path: "/app2",
    component: () => {
      const App2 = useApp({
        name: "app2",
        loader: () => import("app2/src/bootstrap"),
      });
      return <App2 />;
    },
    exact: true,
  },
];
The route / is for the home page which is handled by the HomePage component present app1:
 In the image shown above, the Home button and Cart button are coming from the
 <Navigation /> component present in app1 and the entire pink region is getting rendered by the <HomePage /> component.
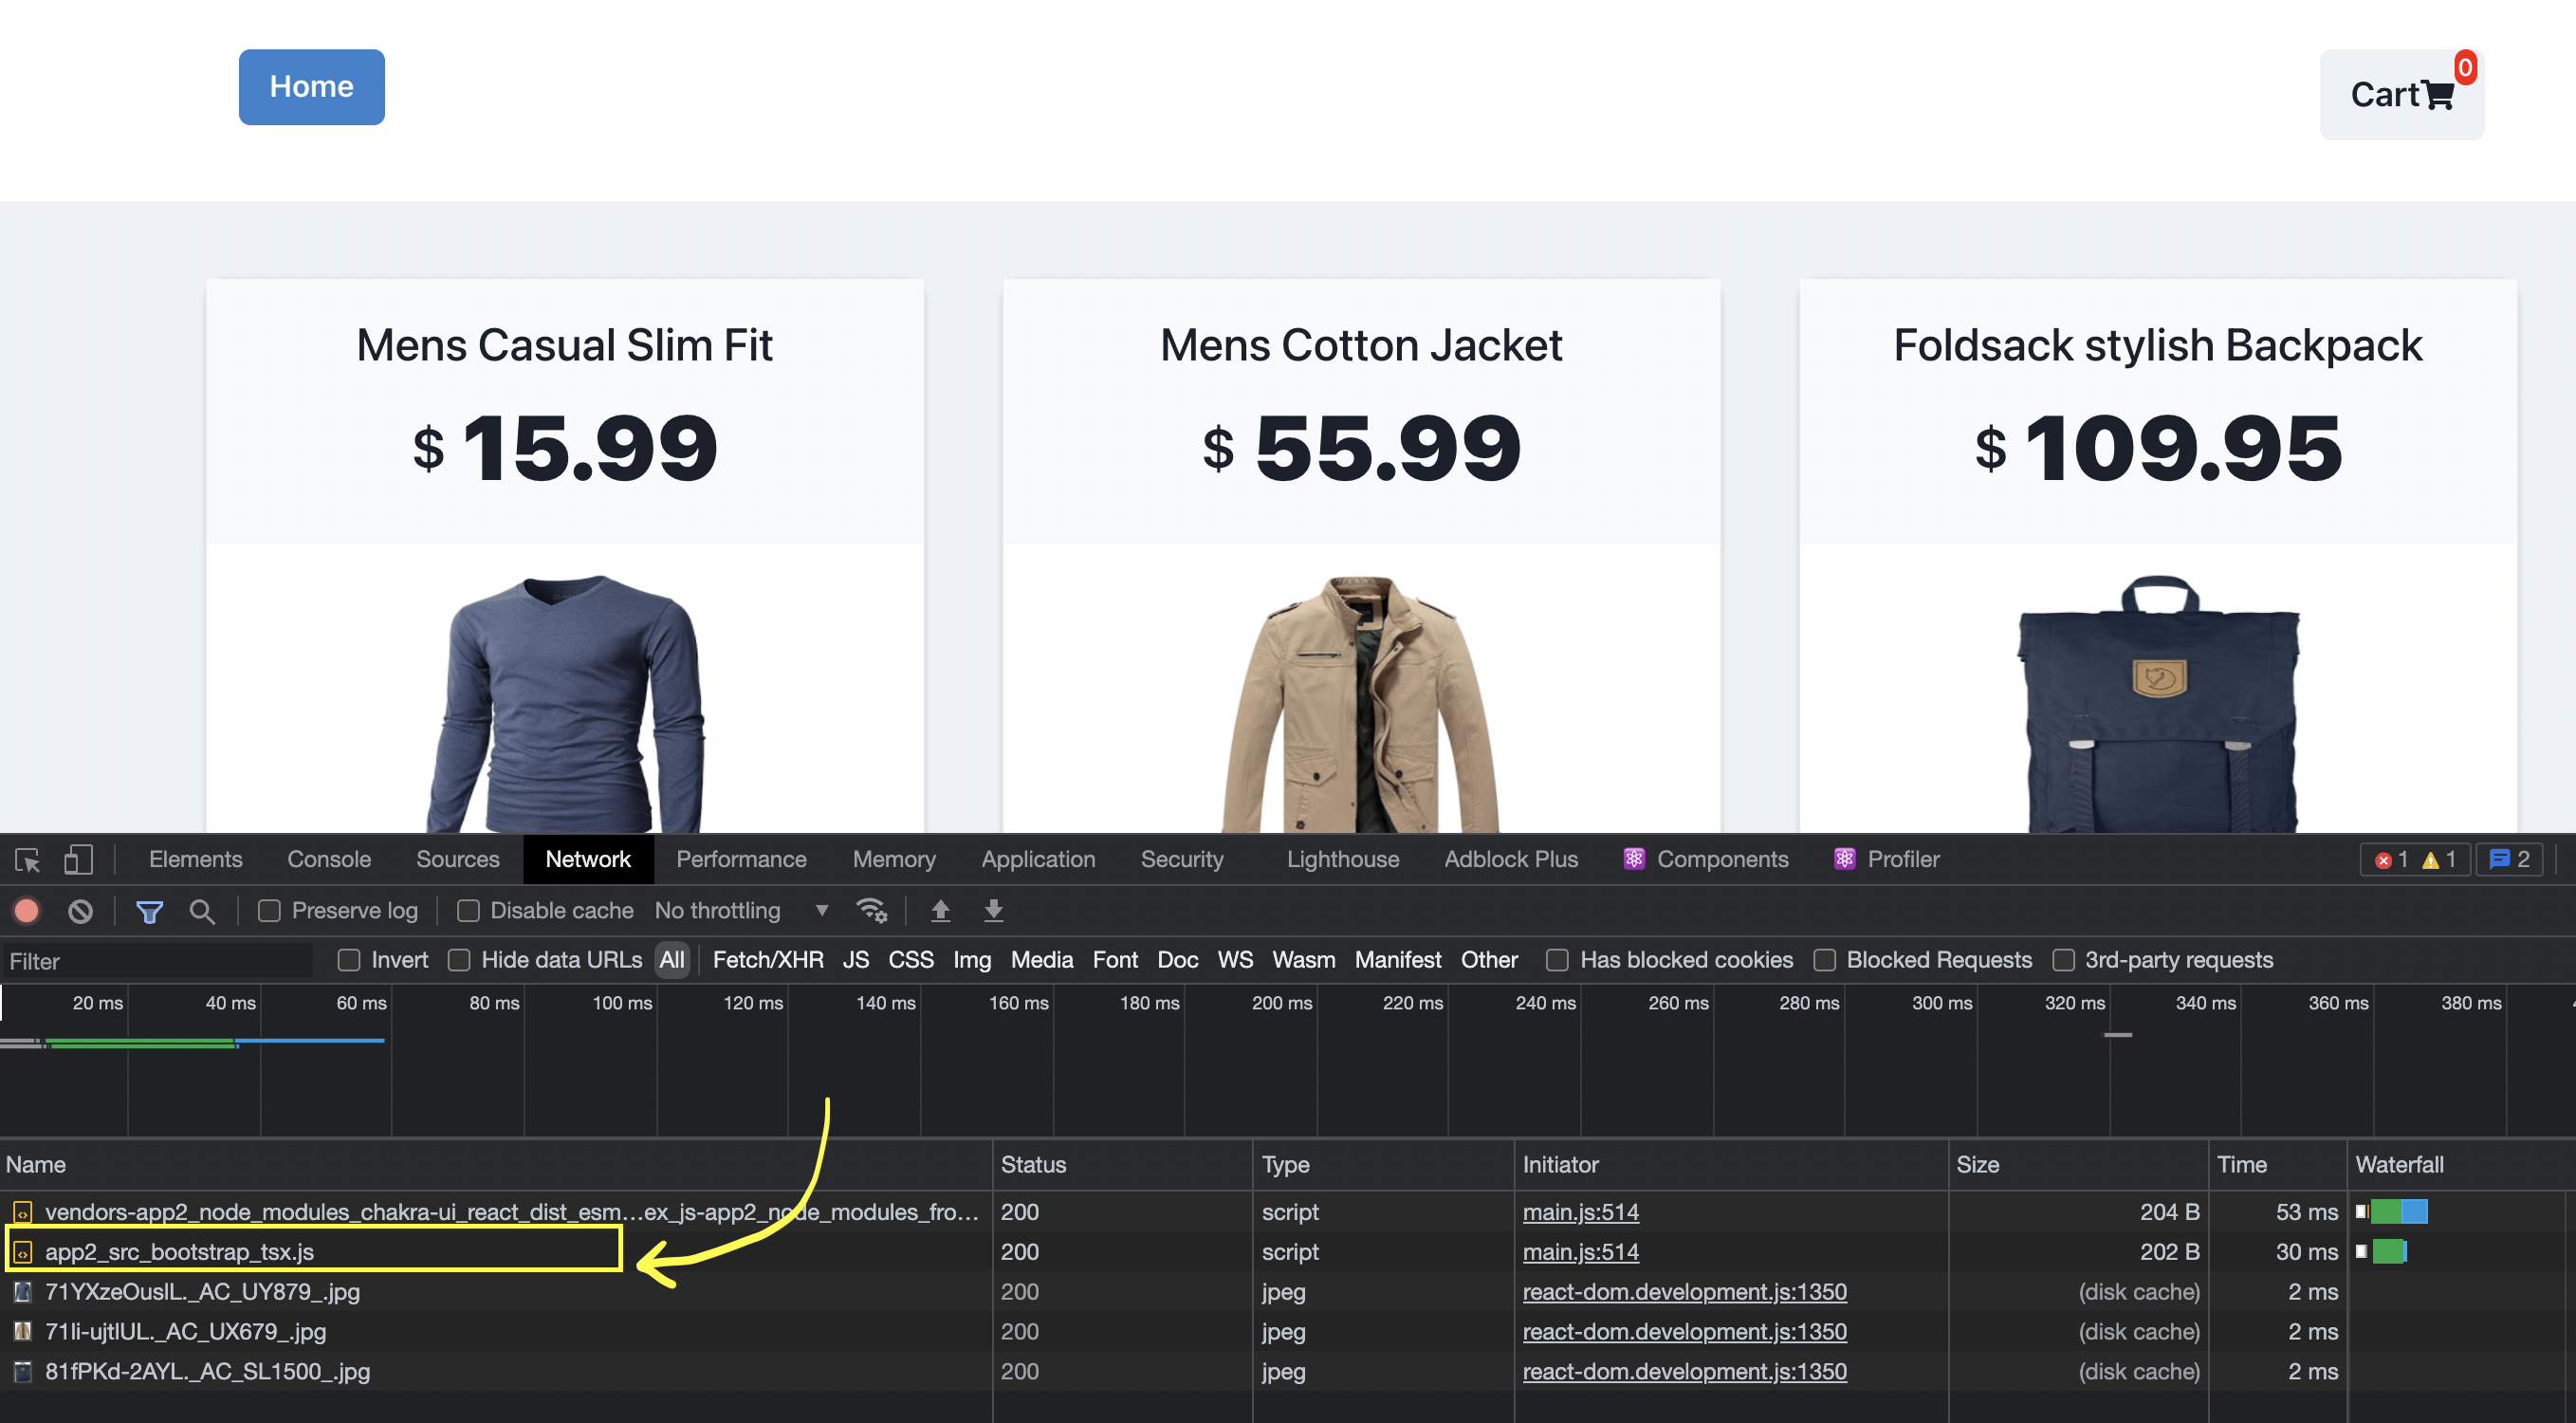
But notice that the route /app2 is being handled by a component that is making use of the useApp functionality in order to generate a component from a separate micro-frontend. Hence, if we click on the "Browse products" button on the previous page, we are taken to the products page:
 The astonishing part about this is that the 3 products being listed inside of the light grey background is an entirely different app which is being seamlessly rendered by Fronts. We can see the proof of that inside of the network tab wherein we can see a call to the bootstrap function of app2.

Communication between micro-frontends
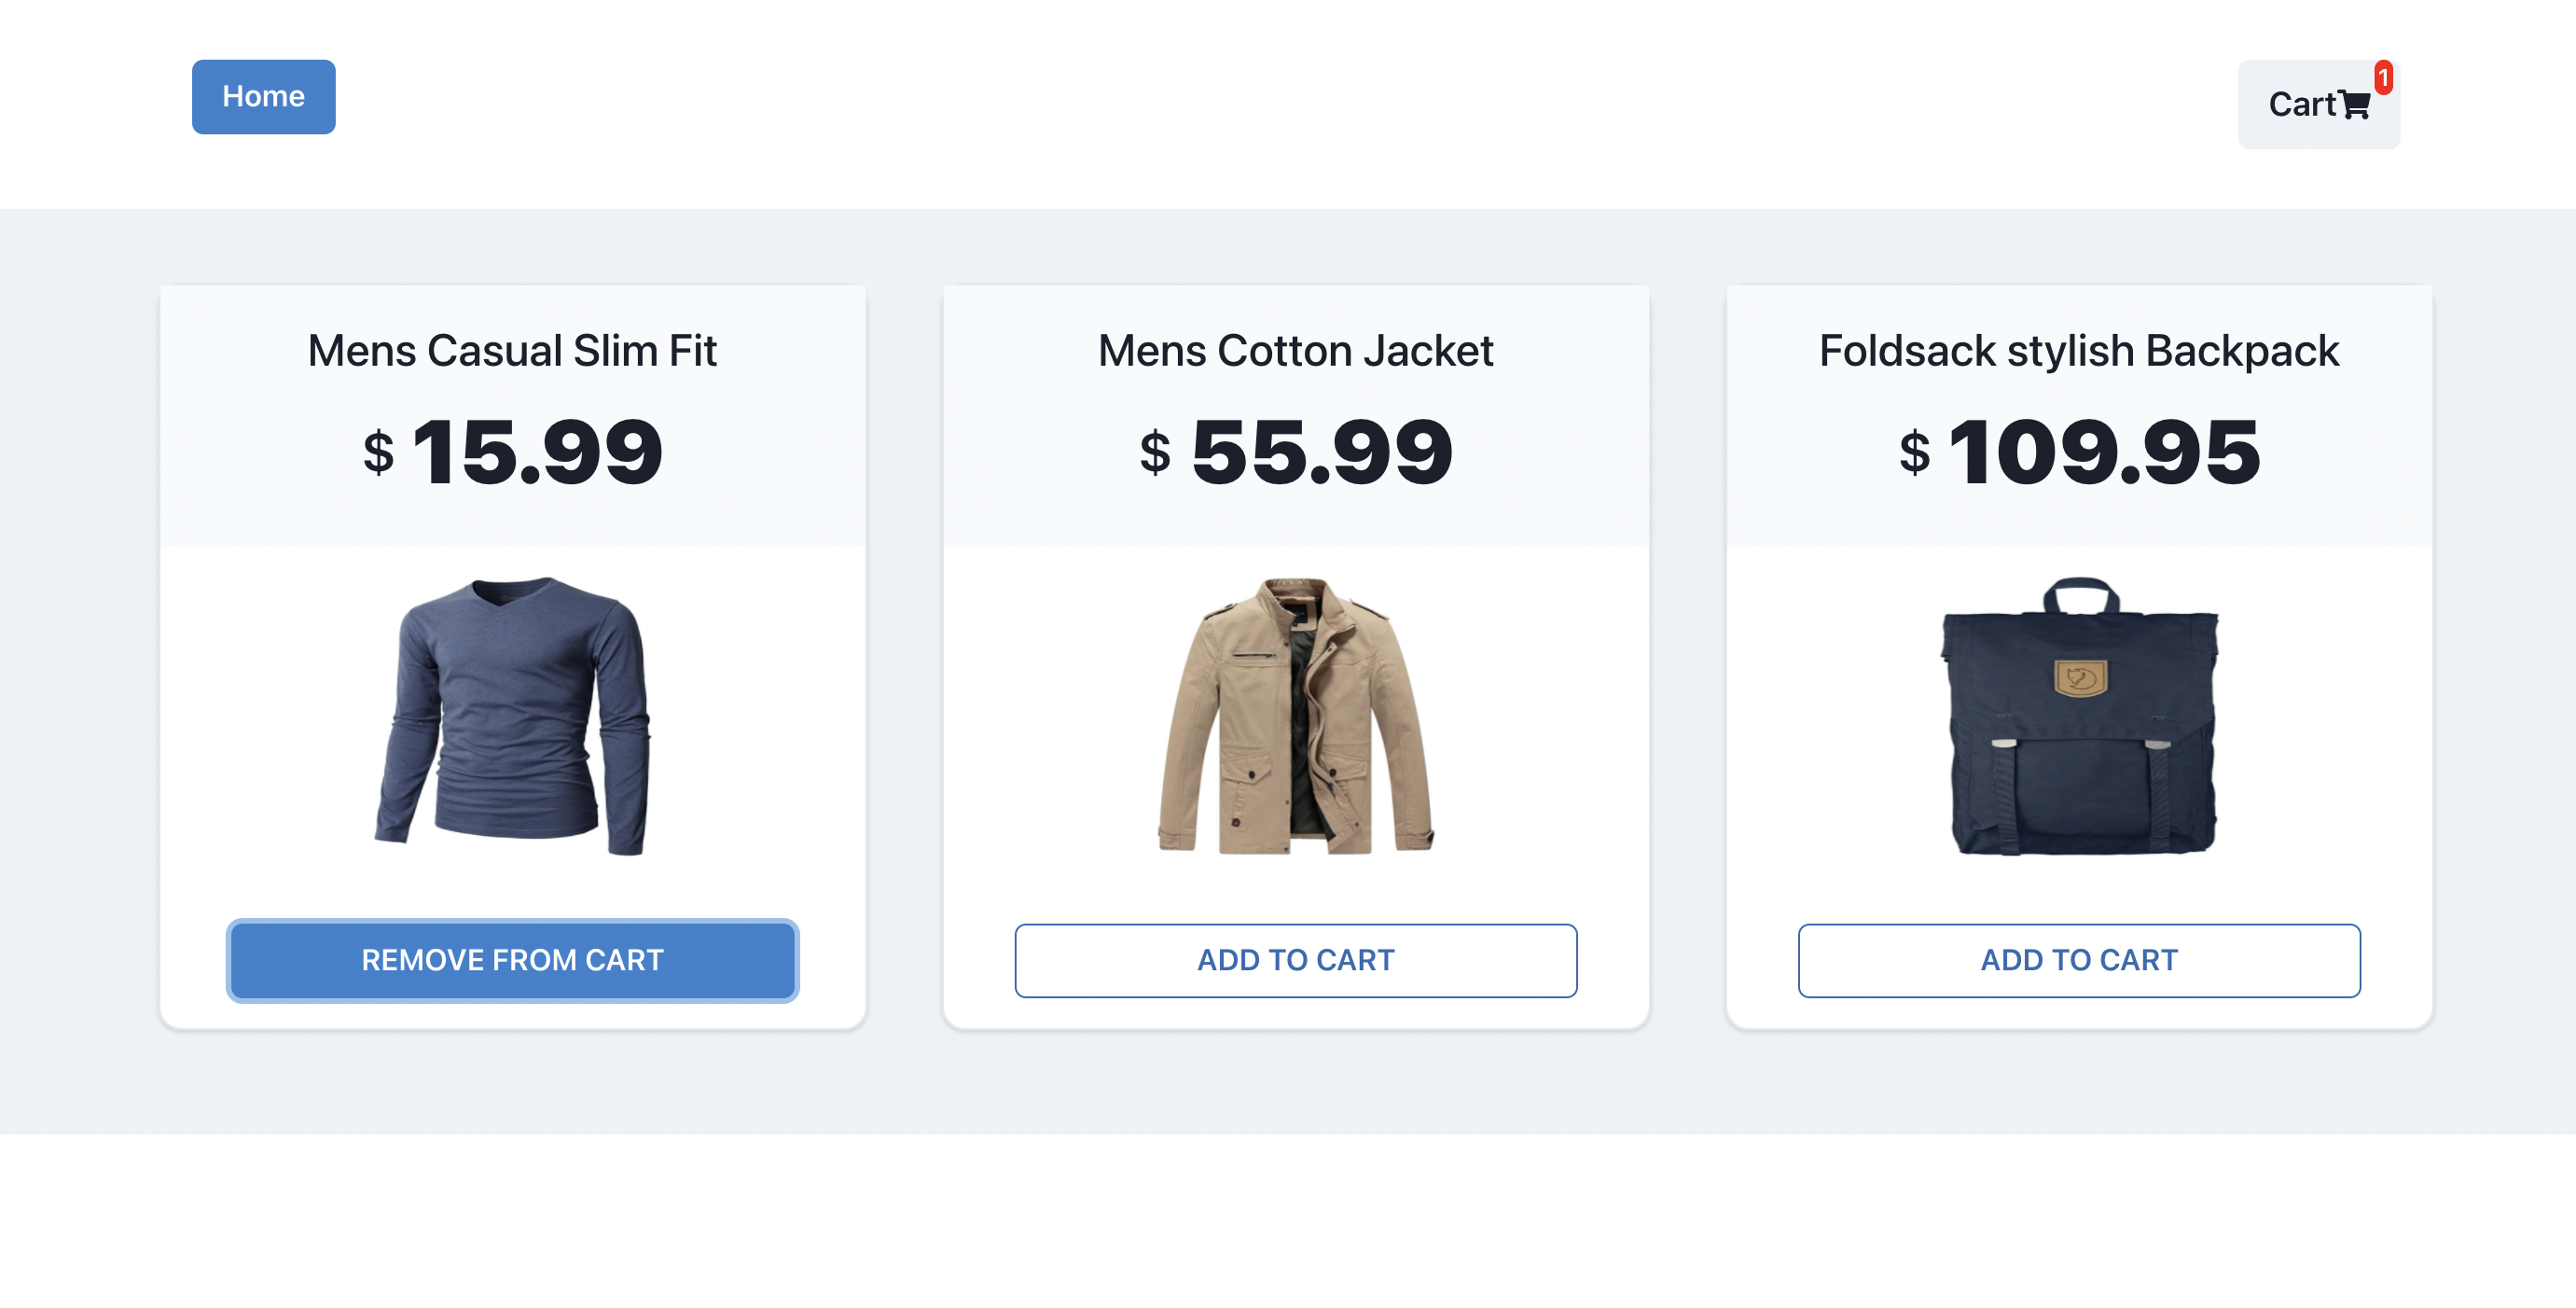
You might have noticed that upon clicking on the ADD TO CART button the number being shown on top of the cart icon increments/decrements accoringly. That is intriguing given the fact that the two components are theoritically in two different micro-frontends. Then how are they communicating.
The communication is happening courtesy of the globalTransport functionality exposed by the Fronts library.
Inside app1/src/App.tsx we are setting up two global listeners for the increase and the decrease events respectively and modifying the cart count based on it.
const [count, setCount] = useState(0);
useEffect(
  () =>
    globalTransport.listen("increase", () => {
      setCount(count + 1);
    }),
  [count]
);
useEffect(
  () =>
    globalTransport.listen("decrease", () => {
      setCount(count - 1);
    }),
  [count]
);
And inside of the app2/src/App.tsx, we are emitting the particular events when the corresponding buttons are being clicked:
function addToCart(pid) {
  const newProd = [...prod];

  newProd.forEach(p => {
    if (p.id === pid) {
      if (!p.active) {
        globalTransport.emit("increase");
        p.active = true;
      } else {
        globalTransport.emit("decrease");
        p.active = false;
      }
    }
  });

  setProducts(newProd);
}
Fronts is taking care that the events trigger in one of the micro-frontends (the emitter) invokes the corresponding listeners in a different micro-frontend (the listener).
Different from webpack?
The Fronts library is written on top of webpack's module federation in an attempt to simplify the process of building micro-frontends. Hence, the former comes with all the goodness of the latter out of the box. But, when comparing both of them side-by-side, fronts.js has the following advantages :
- Reduced configurations
- No need to deal with plugin modifications
- No need to deal with the webpack config
- Simplified multi-app routing
- A choice of CSS boundary level
Conclusion - Different from separate apps?
As the need to work on separate parts of a frontend application and deploy them independently continues to rise, so does the popularity of micro-frontends.
It is a boon to be able to decouple the lifecycle of separate (yet related) applications so that different teams can work on them independently, without fearing breakages. And that is where a framework like Fronts truly shines. The minimal configuration associated with the framework along with the amount of flexibility it provides is unmatched as of the current micro-frontends market situation. Thus, it is definitely worth considering as a framework of choice for your next micro-frontends project!